It seems hard to believe, but here it is: I actually managed to finish a second quilt this summer! I started making the quilttop during the Easter holidays and finished it right after the summer holidays. That's probably a speed record for me.
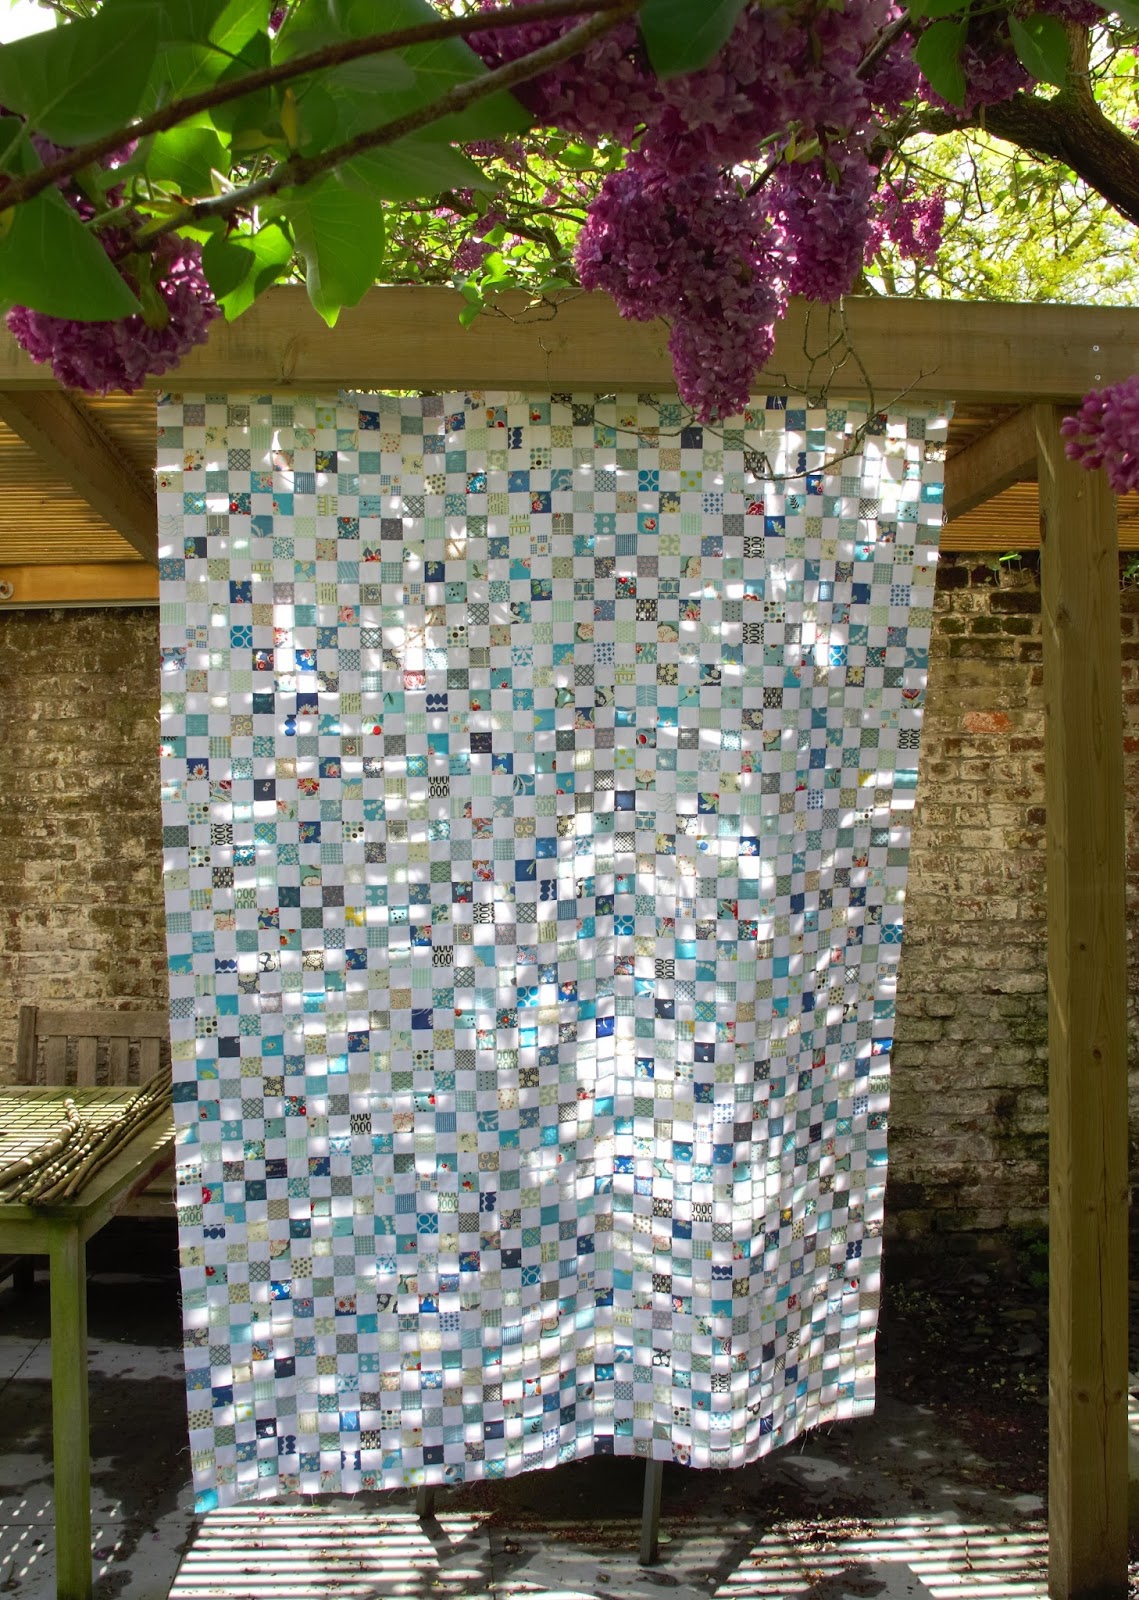
 This really is the simplest design possible. The squares are 1.5" finished. It's the first time I tried a smaller square and it does make a difference. It looks more like postage stamps :-)
 The binding is a black Kei Honeycomb fabric and the backing a extra wide
version of Newsprint by Carrie Bloomston. It is the very first time
I've tried an extra wide fabric and this print and I must say I was a
bit dissapointed by its quality. The weave is quite loose. Is that
typical of those extra wide backing fabrics perhaps?
The binding is a black Kei Honeycomb fabric and the backing a extra wide
version of Newsprint by Carrie Bloomston. It is the very first time
I've tried an extra wide fabric and this print and I must say I was a
bit dissapointed by its quality. The weave is quite loose. Is that
typical of those extra wide backing fabrics perhaps?

 This really is the simplest design possible. The squares are 1.5" finished. It's the first time I tried a smaller square and it does make a difference. It looks more like postage stamps :-)

The quilt was handquilted with white DMC thread in the simplest quilt pattern possible. But the overal effect is quite pleasing.


Now up to the next one! I'm actually making a sketch for a quilt, inspired by our recent trip to Sweden and all the beautiful flowers and Scandinavian design we saw there. And I might have bought some fabric there that would be perfect for a Scandinavian summer quilt...